This blog has moved!

Please join me at: www.heatherleechan.com/blog and there I will share with you my art and life!

Wednesday, June 27, 2012

Bachelorette Gift Basket

I was invited to a lingerie shower before my friend's wedding. She had already had a bridal shower, so her cousin wanted to throw her a fun (yet still tasteful) lingerie shower. I knew everyone would bring her beautiful lingerie, but as a married woman I knew those lose their appeal fast. I wanted to do something fun, so I put together this gift basket!

 
1. "DIY Edible Underwear" (i.e., Fruit by the Foot)
2. "Something sweet to make tasks a treat"---Sugar Free Chocolate Syrup
3. Strawberry Syrup (I couldn't find sugar free)
4. Sugar Free Caramel Syrup
5. "Just In Case!"---Pregnancy test (from the Dollar Tree...I've heard they work!)
6. "In Lieu of Whipped Cream"---Snack Pack puddings (wish I could've gotten whipped cream, but that would obviously go bad)
7. "For the Sexy Secretary/Librarian"---Glasses from the dollar store with the lenses popped out...to play sexy secretary or librarian
8. "Comfy AND Cute" underwear
9. "For Playing [Naughty] Nurse"----A nurse headband (she is a nurse...I made it with a headband, felt, and the glue gun)


You could make your labels as scandalous or tame as you please.

My gift recipient was on the tamer side :)


And then concealed in cute dollar bucket with a tissue paper flower :)

Ummm, can I say it was a hit?!

Hair Bow Kite

I just absolutely love the kite for hair bows on Ruffles and Stuff. I followed her tutorial to make a present for my friend's daughter's 5th birthday. Of course, my 4 year old boy wanted his own (minus the hair bows), so how I could I resist?

Calvin's is made out of a scrap piece of sailboat material, an old wire hanger, ric rac, ribbon, and blue scraps of material for the bows.

Clara's is made out of Heather Bailey fabric, ribbon, an old wire hanger, and lots of felt hair bows and flowers!

Oh, and of course I also used a glue gun. Glue guns rock.

 Check out the Ruffles and Stuff tutorial because it is really easy and turns out just darling!

Saturday, January 7, 2012

January Hutch Decor


I just can't get over my adorable book page wreath. I really need to make more.

Here are my snazzy decorations for my hutch this January.

I was pleased to find big bags of oranges, pears, apples, and other produce at Big Lots this week. Only 98 cents for a whole bag of each fruit. Win!

Once again, here is the fabulous tutorial on how to make it.

Friday, October 28, 2011

Happy Halloween Wall

Here's my turquoise wall decorated for the Halloween Baby Party:


I made the garland out of scrapbook paper and dental floss.

I painted my pumpkin on the back of kraft wrapping paper using acrylic paints!

Clouds for Baby's First Birthday

I love having a turquoise wall in my kitchen.

I mean, look at how much fun it is to decorate!

For Clara's first birthday:

I made the clouds out of wrapping paper and just turned it so the pattern faced the other way. Then I crumpled them because it's so flimsy it needed the texture.

Instead of taping it up, I used that sticky gum stuff that you put up posters with.

The garland is made out of scrapbook paper and strung together using dental floss (it's the best for garlands and hanging things because it is strong and is so thin--oh, and it smells minty).


Saturday, August 20, 2011

Coralee's Baby Scrapbook


by my Mom and me


Posted by Picasa

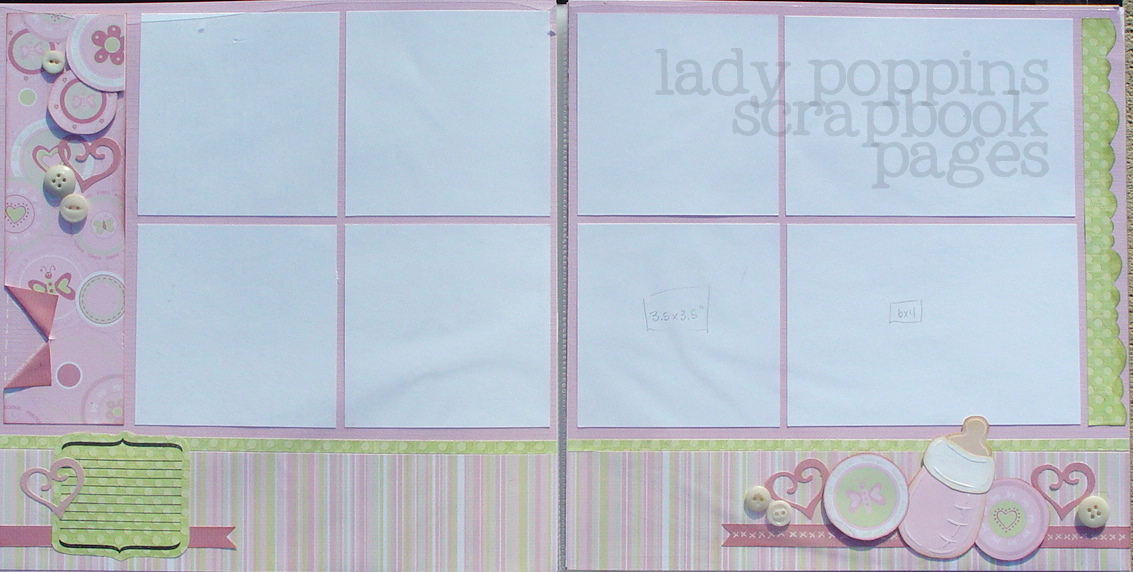
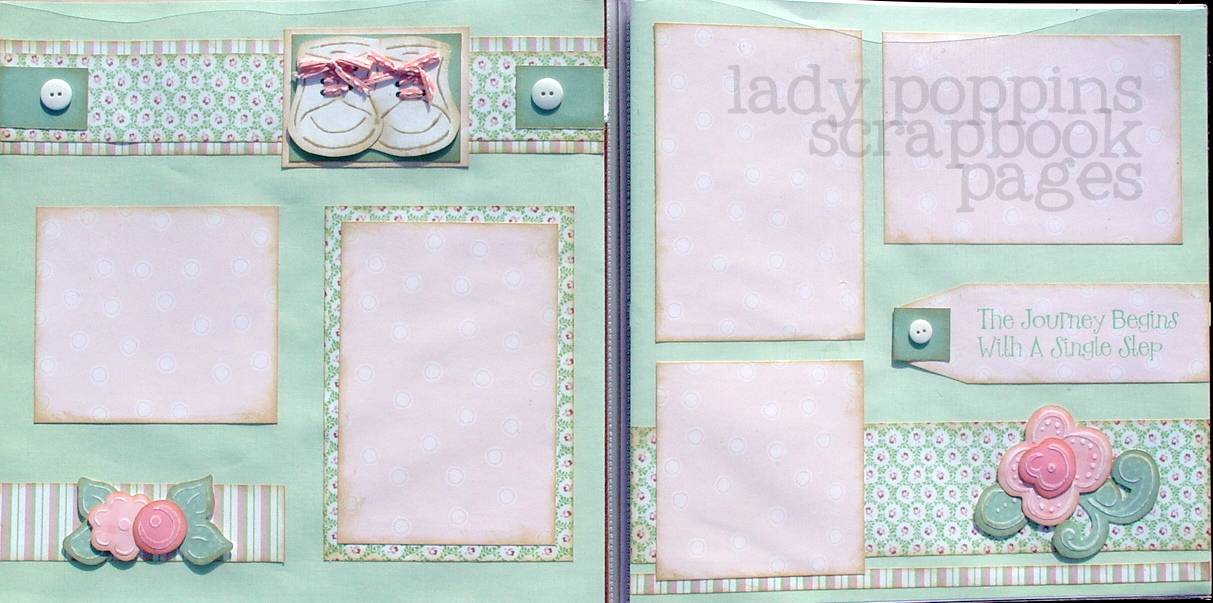
Dante's Baby Scrapbook

It's become tradition that when my friends have babies, I make a scrapbook.


The Baby Scrapbook shower gift has evolved over time. In the beginning and up until recently my mom and I left slots for pictures in the pages. Now we leave the center blank so it is easier to choose which pictures they want to put in.

I apologize for the low quality photos. I hadn't planned on posting, but thought they might be helpful to others :)


Posted by Picasa

Tuesday, August 9, 2011

The Desk all Painted Up

My mom sent over this desk/dresser since she was making room for a new piece of furniture.

It started off as a yellowy wood color, but after sanding it and painting it with Antique White it looks entirely different! I wanted to change the hardware, but the handles are too odd of a size to buy replacements at Lowe's.

Before:


After:


And in our bedroom:


And SURPRISE!

I painted it the same blue as our wall inside. I used mod podge as a glaze to protect the paint since my laptop will be residing in here. I'm sure that something like polyurthane would be a better choice, but I just used what I had on hand.